Showing posts with label Christmas. Show all posts

Monday, December 12, 2011

Santa Bears

I shared a picture yesterday of my Santa Bear that I've had since my first Christmas. It's a tradition my dads mother, Memaw, started for all of her grandchildren when we had our first Christmas. Each year we take a picture with our bear at Christmas. With 9 of us (now 11 since my uncle got remarried last year), that's a lot of bears. But Memaw has all the pictures framed with the year marked in a collage up her stairwell. I love this tradition and it is something I want to continue to carry on once Hunter and I decide to start a family of our own. Or maybe my parents will continue that tradition? Not sure, but regardless, I think it's something fun to do with your family.
My first Christmas with my bear.
My brother, John, with his bear on his first Christmas.
My sweet little sister, Bailee, on her first Christmas with her bear.
Bailee last year (2010) with her bear.
John last year with his bear. (He looks so different now. It's crazy how much someone can change in a year!)
Me with my bear last year. I graduated from the University of Alabama on December 11, 2010, so my grandmother had me take a picture in my cap and gown with my bear. (This just made me realize I've been done with nursing school for a whole year! Woohoo!)

That's one of our family traditions that we do. Do you have any special traditions you do with your family each year?
Happy Monday!

Saturday, December 10, 2011

Rockin' around the Christmas tree

I just shared our Christmas decorations with you guys but wanted to do a separate post on our Christmas tree. I have always had a real tree but Home Depot had a really pretty artificial, pre-lit tree for only $49 on Black Friday. I just couldn't pass up this great deal so for the first year, besides when I lived in my condo in Tuscaloosa, I got a fake tree. And to my surprise, I actually like it. Don't get me wrong, there's nothing like a real tree. I love the fresh smell it sends all through the house. But it was so nice to not have sap all over your hands and needles all over the place. And since our tree is pre-lit, we didn't have to deal with putting lights on the tree.
After Christmas last year, Hunter and I went to Wal-Mart to see what they had on sale. They had tons of pretty glass ornaments. We stuck with a silver, white and green theme. We spent very little money on these ornaments so if we ever get tired of them, we can change them out. I used other ornaments that I got at our holiday shower and ornaments I have gotten since I was a baby.
I love how our tree turned out! I always like to use two wrapping papers and this year I got them from Hobby Lobby (What am I saying? I always get my paper from Hobby Lobby). I still haven't put the ribbon on them yet. (Lazy).

I used burlap as garland this year and I love how it turned out!
I love this one! My cousin, Amanda, made this for us with our wedding invitation.
This was made my my best friends mom and I love it!

One of my favorites! From my Uncle Andy when I was a baby!

Have a wonderful day!


It's beginning to look a lot like Christmas!

Christmas is my FAVORITE! I'm actually watching Elf right now. Seriously, who doesn't love this movie?
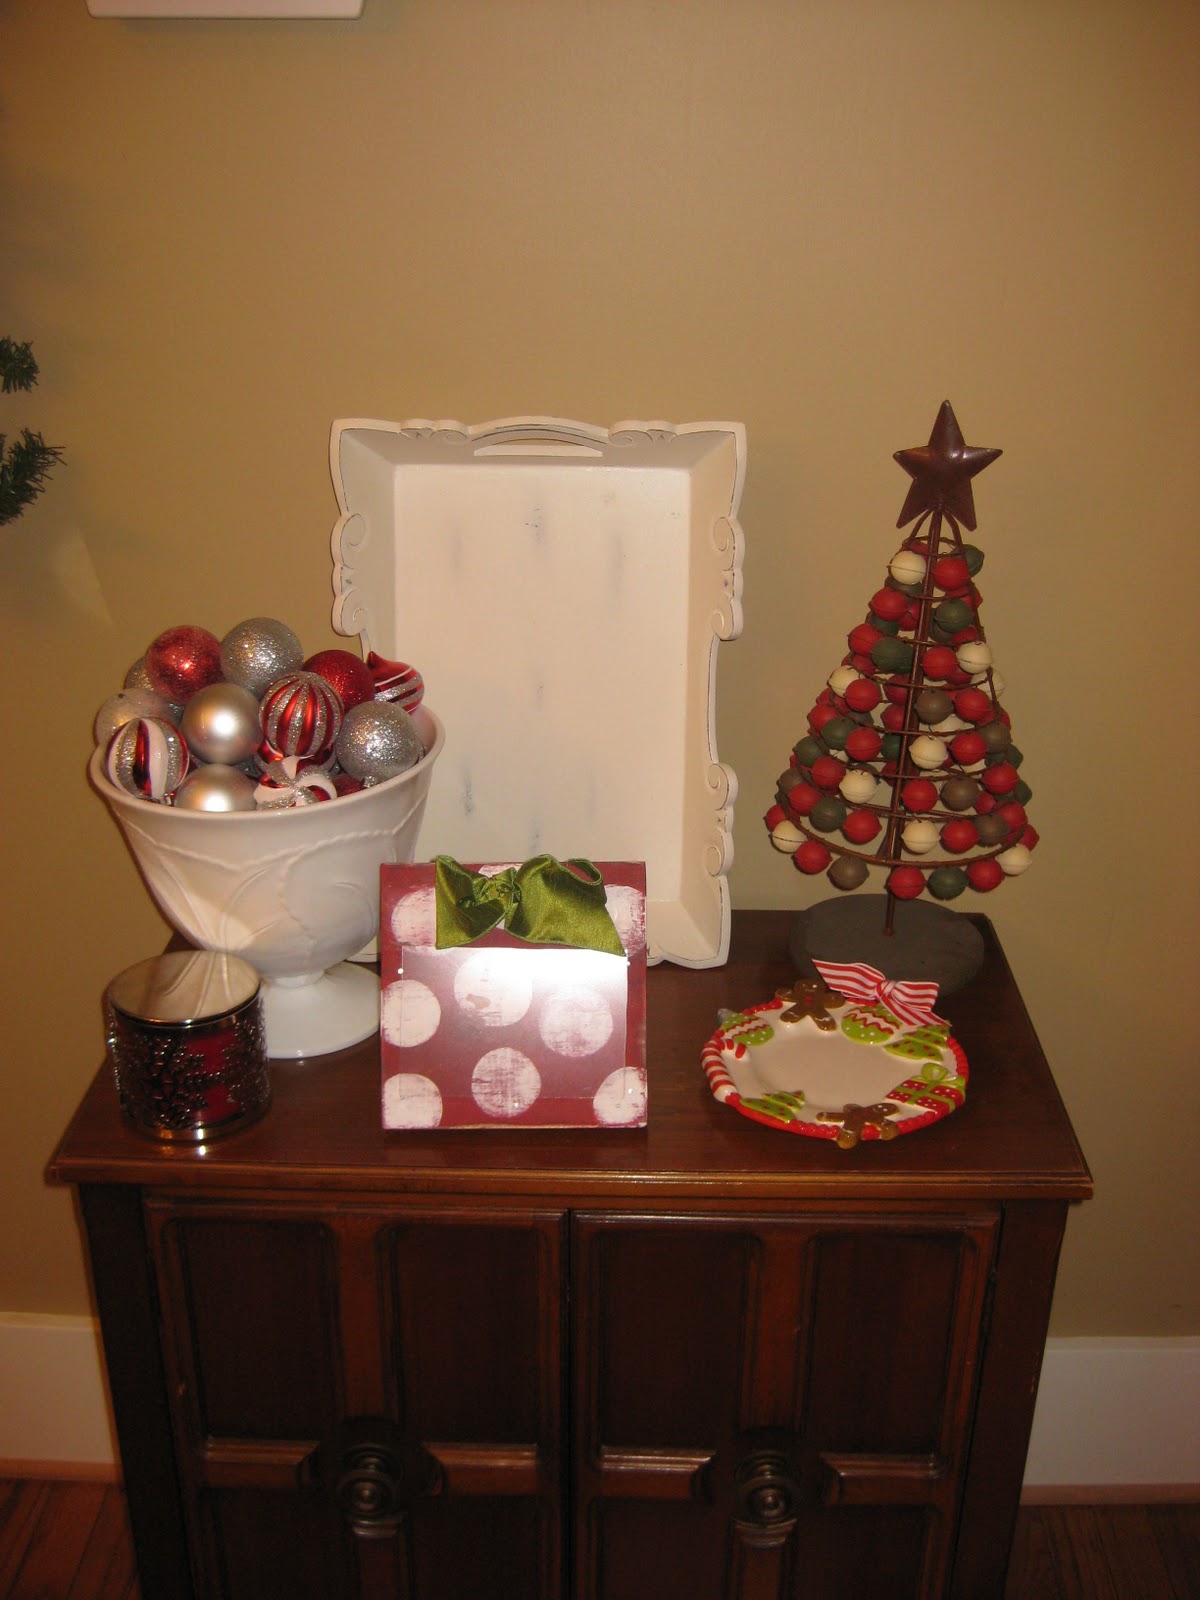
So I decorated for Christmas the day after Thanksgiving. Hunter was supposed to help, but he decided a nap sounded better. I have been so excited to decorate for Christmas this year! Last year, after Christmas, my stepmom, Allison's, sweet friends gave me a Christmas shower. I got SO much stuff and I couldn't wait to bring it out this year! So this post is going to be lots of pictures of our decorations. Hope you enjoy!
Please excuse the lighting in this picture. The sun was setting and I couldn't get a good shot. I really like how the door turned out though. The wreath is from Whole Foods and I got the metal "E" at my shower last year. I think it came from Chelsea Lane. I bought the garland and had the ornaments that I got on sale after Christmas last year. I attached them to the garland with green pipe cleaners. I was very happy with the final product.
With the garland on the front I attached the deco mesh and ornaments with pipe cleaners. It is so easy and was really fast.
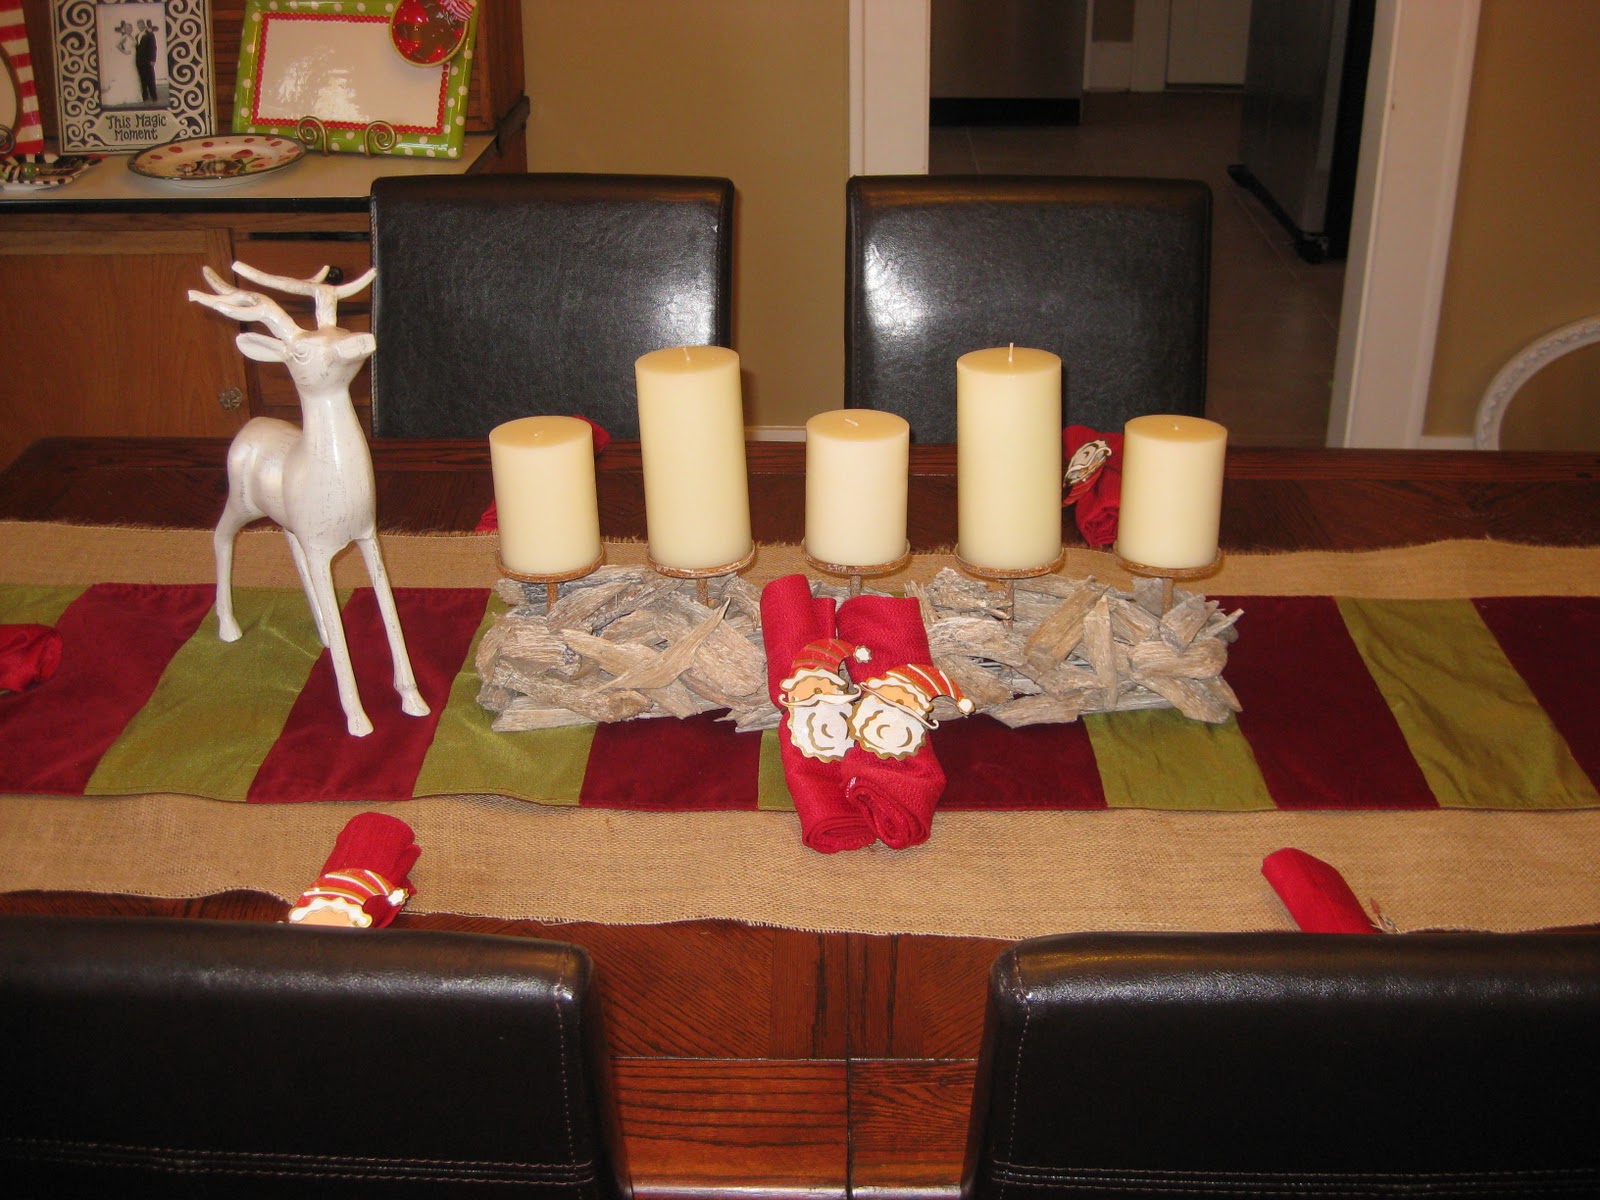
Our table is my favorite. We got it for $40 from a furniture consignment shop (for those of you in Sylacauga, Anne's Bargain Barn). Hunter refinished it and it has a leaf that we can put in it to fit 8+ people. The candle is from Palace and was a wedding gift. I got the red and green striped runner and the deer from Home Goods. The burlap is fabric I had left over from the burlap garland strips I cut for our tree. And the napkins and napkin rings we got at our Holiday shower last year.
This is my Santa bear that I have had since I was born. My Memaw (my dad's mom) bought all of her grand kids one and every year we take a picture with it. She has a wall full of pictures with each of her grand kids and their bears labeled with what year it was. I will have to share more on this later because I think it is such a great tradition to have. She gave it to me last year to keep and I plan on keeping up the tradition once Hunter and I decide to start a family.
I love our stockings! I saw them at Pottery Barn after Christmas last year and my mom surprised me with them. My best friends very talented mom, Judy, monagrammed them for us.


Merry Christmas to you and yours! :)

Sunday, November 6, 2011

Pinterest Challenge Project

Last week, Sherry from Young House Love and Katie from Bower Power announced the fall addition to the Pinterest Challenge Project (not sponsored by Pinterest or anything). They shared theirs Wednesday, but since I was working, I decided I would share mine today. So enjoy and also, go take a look at Sherry and Katie's projects, plus their two cohosts Ana and Erin's projects.
I actually did several projects that have been on my list. What can I say? I'm an over-achiever. (Yeah right) First up, I made some Fall wreaths. These weren't really from Pinterest, but one of my friends made one and I wanted to try. So I made myself one then my mom and gifts for two people who helped me so much with my wedding and reception. I got everything I needed at Hobby Lobby and pretty much everything was half off. Also, always print out your 40% off coupon. You can also pull it up on your phone and show it to them at the register. The supplies I needed were a grapevine wreath, a letter, ribbon, and fall accessories that are made to stick right into the wreath. SO EASY!
All the inserts I used.

The wreaths before I put on letters.
Here is the wreath I made for our house! I love it!

I may have an obsession with making wreaths. This next one is a yarn wreath I made for one of my friends who is expecting a sweet baby boy at the end of December. (Crystal, if you don't want your surprise spoiled, don't read any further.) I wanted to make them special to hang on their hospital door. You can see my original inspiration here. I wanted to do a yarn wreath and I saw one that has a small chalkboard in the  middle to write the weight, length, etc. I thought that was so cute!

This is the wreath and yarn I used.
 I found a great and easy tutorial through Pinterest. It's pretty self-explanatory but I like to make sure to do it right the first time. Like she did, I marked off lines so that I could make sure all my sections were even. From there I just wrapped, and wrapped, and wrapped some more.
Next, I painted a wooden frame with chalkboard paint and tied it on. I also painted a wooden letter and attached it with some hot glue.
I think it turned out pretty cute and I can't wait to give it to Crystal and Drew!

Next up, I wanted to do a Christmas countdown. I ordered a decal from a website for super cheap so I'm still waiting to get that. But here is what I have so far.

I like it so far and can't wait to show you when I get my decal!

Last, is my favorite project! It is something one of my best friends, Michelle, and I have been wanting to try. Here is where I found great instructions.

Supplies needed are Matte Mod Podge, a sponge brush, any pattern of scrapbook paper you want, and a canvas and picture that are the same size (I used and 8x10). You want to make sure to cut your scrapbook paper to the size of the sides of the canvas, It's best if they are narrower and shorted than the actual size. Same with your photo. I printed my picture from CVS and it worked out great. No smudging or anything. Photo from our amazing wedding photographer, Amanda Pair.

First, glue on the strips with the Mod Podge. (I know this is different paper, but I did two. The one with this paper is a gift for someone for Christmas and I don't want to spoil the surprise. It's my favorite though and I'll be sure to share later).
Next, put Mod Podge on the canvas and back of your photo. Be sure to apply enough to the corners and edges so it won't lift up. Then once your photo is on the canvas, apply the Mod Podge on top of the photo. You can kind of see the streaks in this picture. It will look milky but it will dry clear, promise! Let that dry for about 30 minutes or until you think it is dry. Then go back with black, brown, or any color of paint you want. Fill in the places where the canvas is showing through. I also smudged it on the photo to give it an antiqued look. You really cannot mess this up.


I love the finished product. It looks even better in person!

So that's it! I made several things and I love all of them!